
Snapbuilt: MG Unicorn Gundam part 4
RX-0 Unicorn Gundam "Ver.Ka"
Bandai's 1:100 Master Grade No.102
~ Snapbuilt and Kit Review Part IV ~
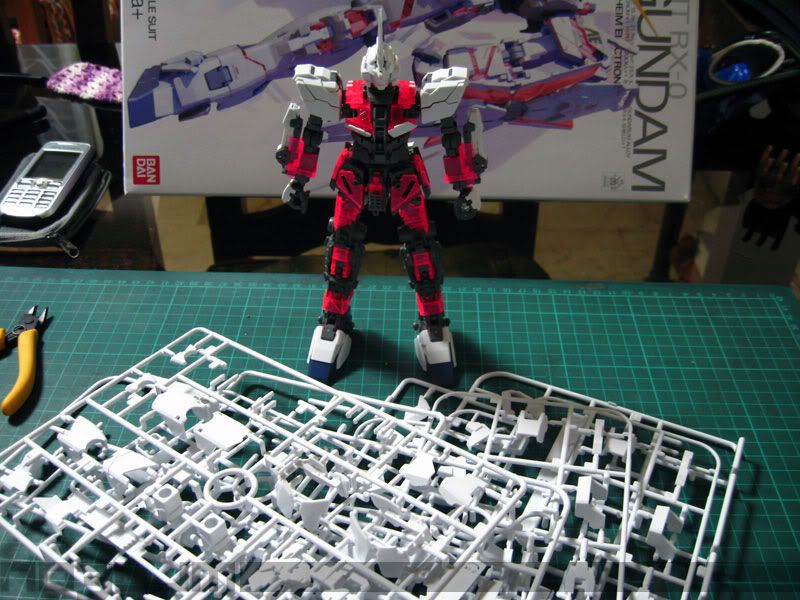
good day everyone. welcome to the fourth part of this kit review. finally, i had the time the other day to finish snap-building the white armors of my Unicorn Gundam. here's my Unicorn looking at his white armors. hehehe. btw, i also added some review on the knee articulations. ^^,
hope you guys like it. and enjoy reading it. ^^,
W h i t e A r m o r
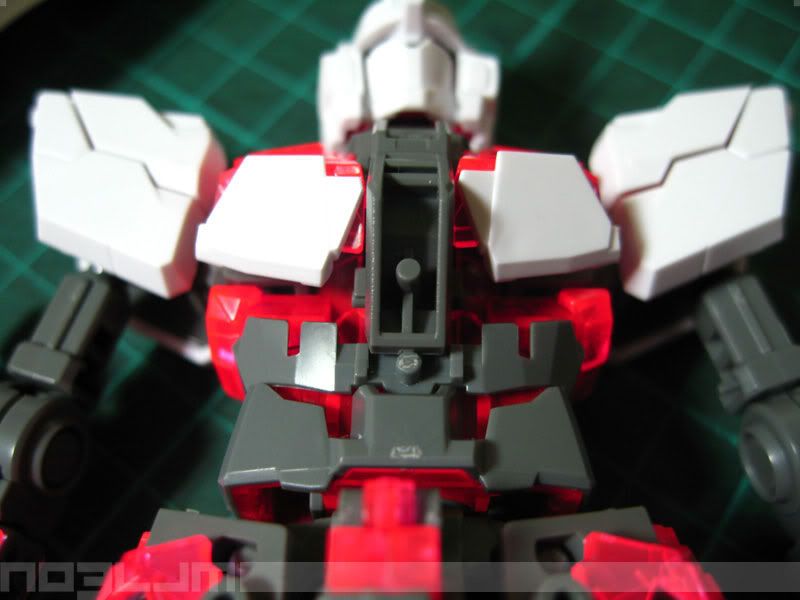
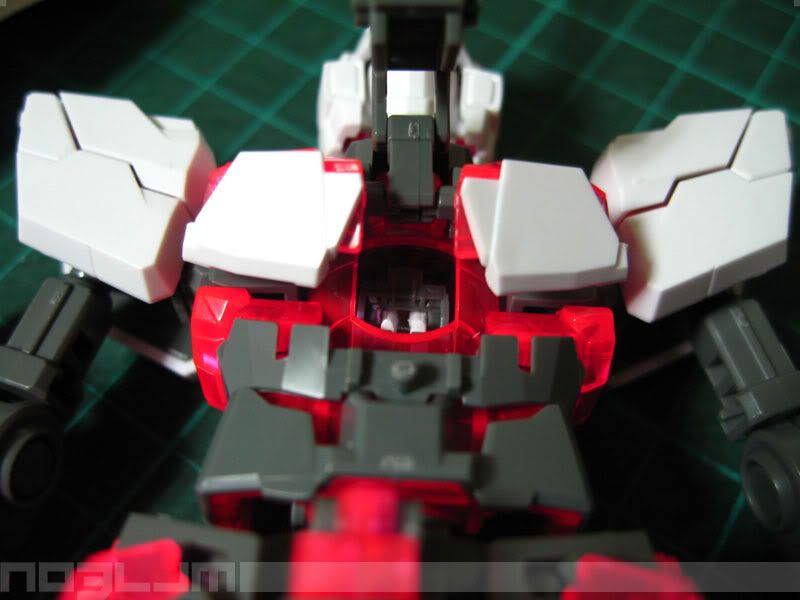
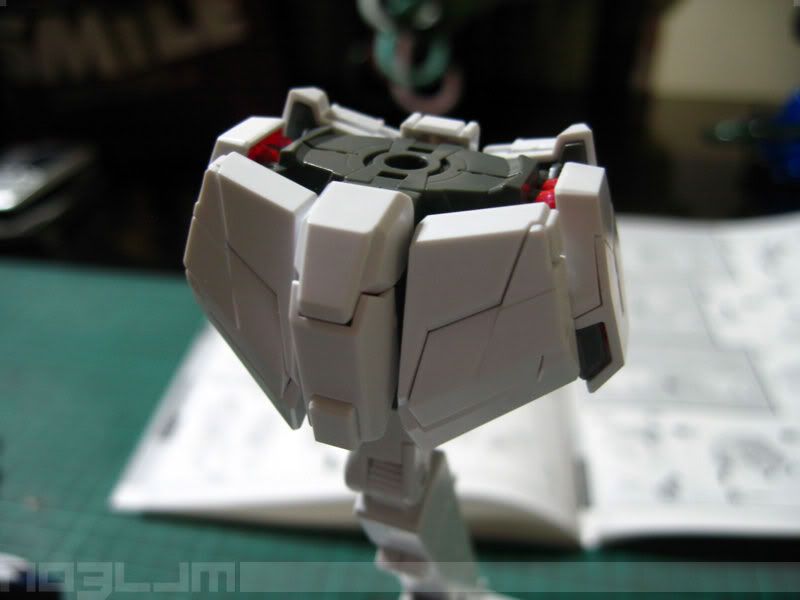
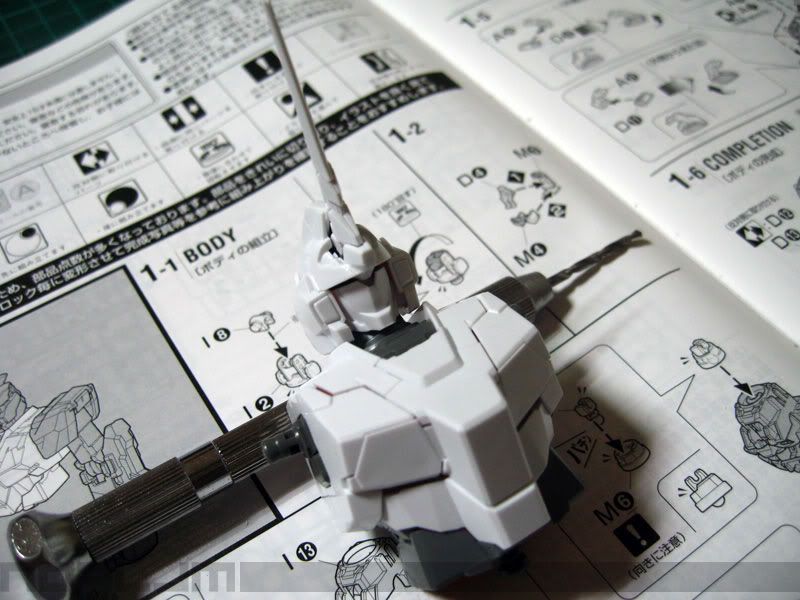

first 2 photos shows the location of the cockpit. third photo is the finished waist part. looks cool huh? fourth photo is the finished torso. i can tell that this kit will look great once it's finished. ^^, (giggles)
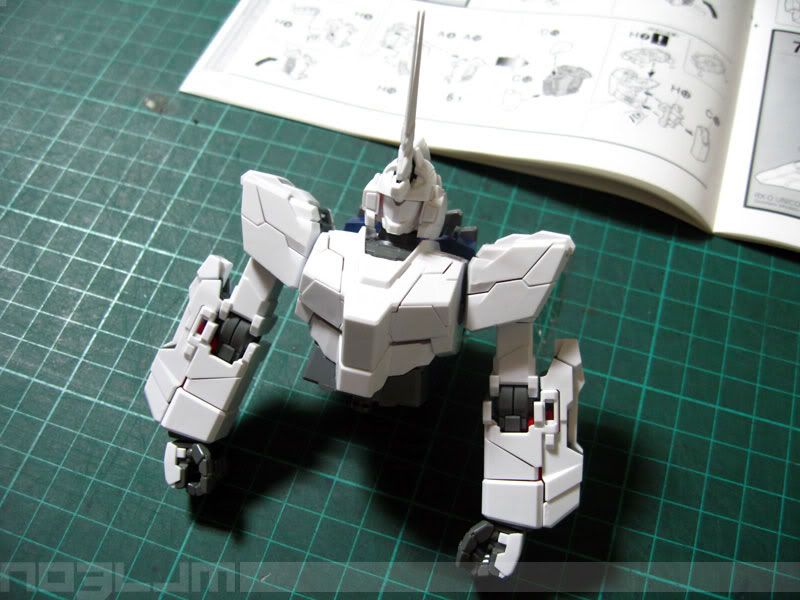
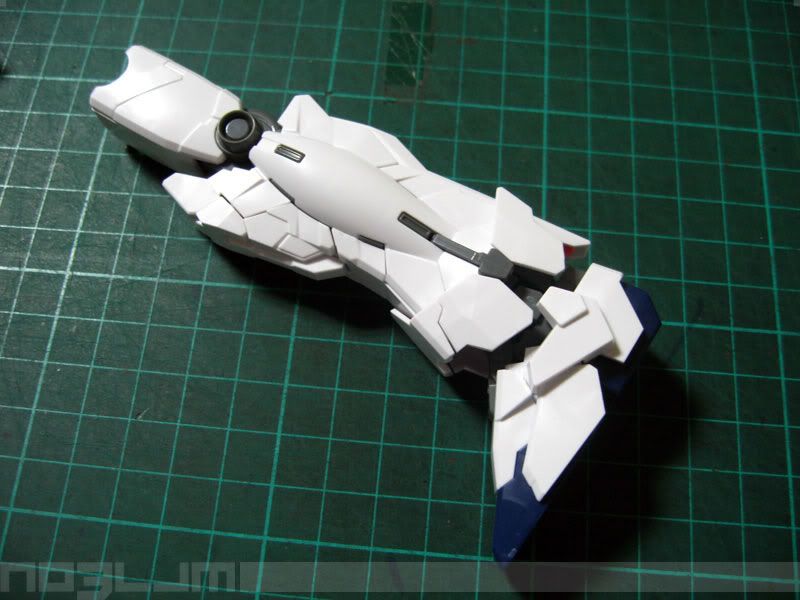
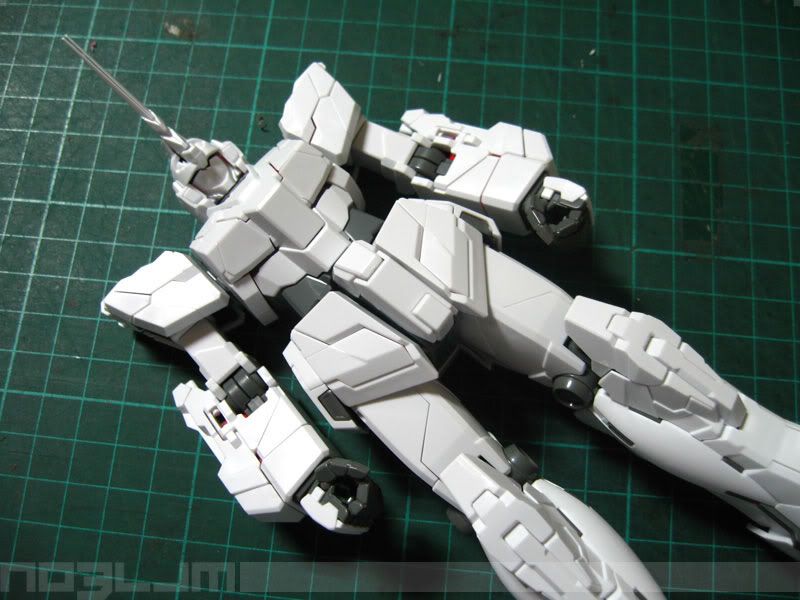
next row shows the finished torso and the arms. somehow i find the upper arm so thin for the forearm. sixth photo shows the back side with the attached backpack. looks nice. ^^, (giggles again) hehehe.
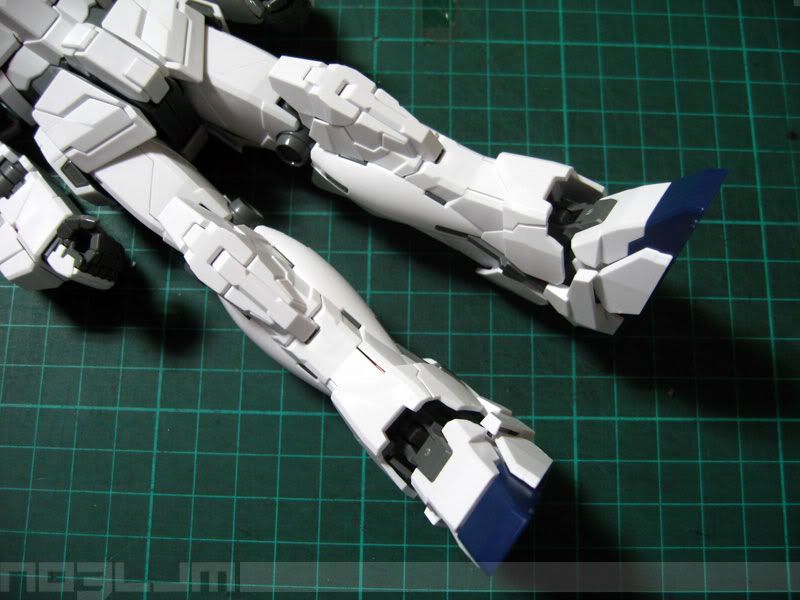
then lastly the finished 'horse-hooves' looking feet. it doesn't look like it when its in Unicorn mode. but wait till you see it in NT-D mode. it really does look like a horse-hooves. somehow it has a resemblance of a horse feet when you see it in side view. i have a feeling that Katoki integrated some horse design on its feet. oh well, you guys be the judge of it next time i post the final review. ^^,
finally, here's my finished RX-0 UNICORN GUNDAM
K n e e A r t i c u l a t i o n s
~ elaborated explanation ~
~ elaborated explanation ~
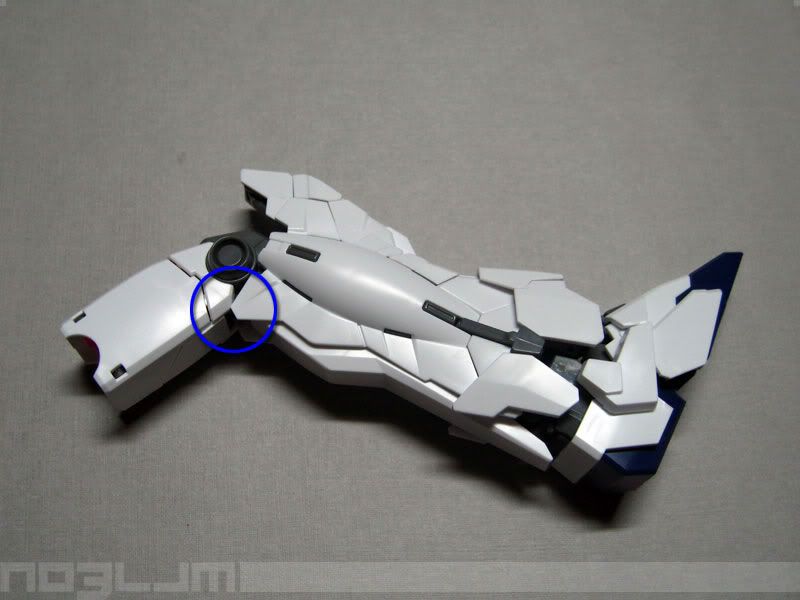
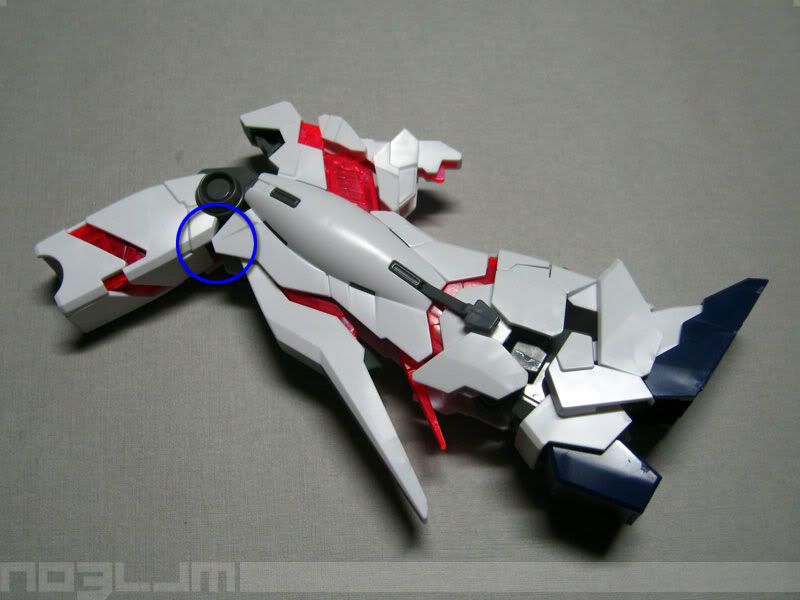
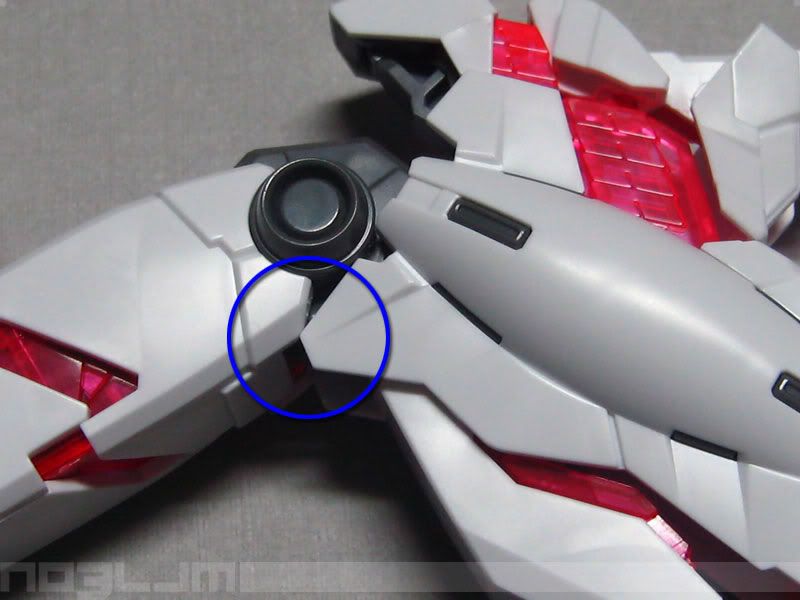
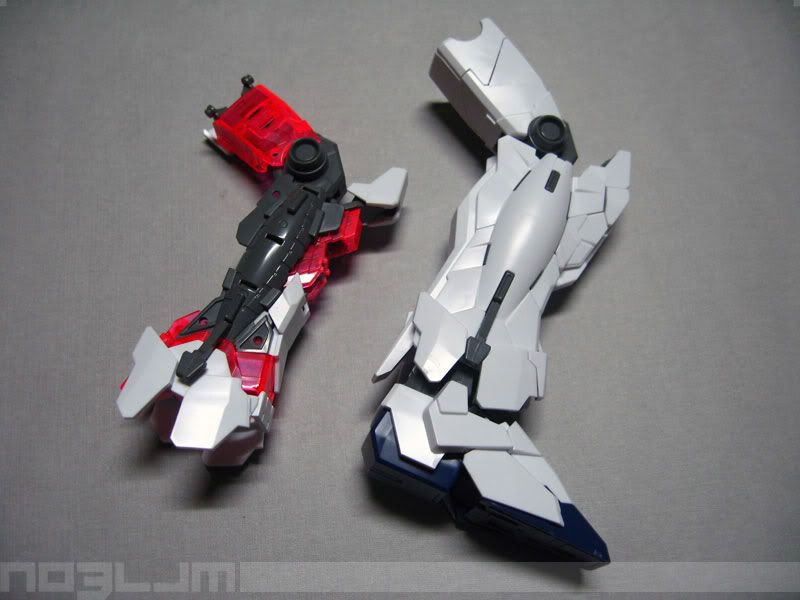
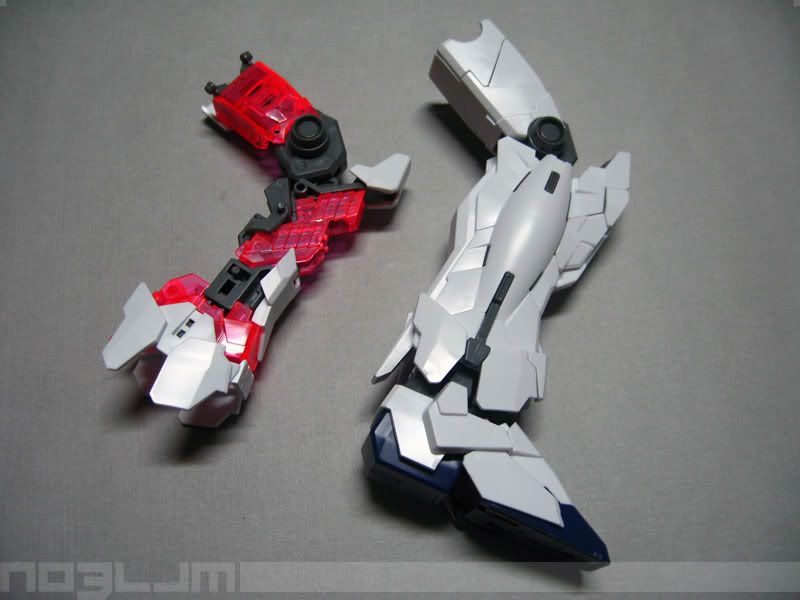
ok, i decided to make an additional review on the leg / knee articulation after i snap-build the leg part. studying how we can add some modification so that we can bend the knee more with its armor on. first we see the white armors touching the back side of the thigh when the knee is bended. i encircled the part with blue color. this can be seen in both modes -- Unicorn and NT-D. i was thinking at first maybe that's the only 'hindrance' that stopping the knees to bend more. maybe if we can modify it or cut it, it can bend more. so i decided to strip the white armors again to verify it. and here's what i've encountered so far:
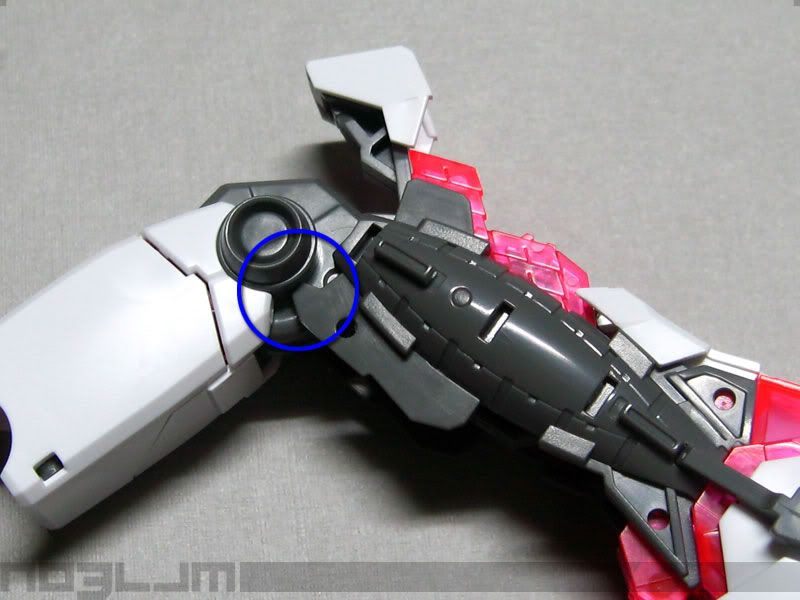
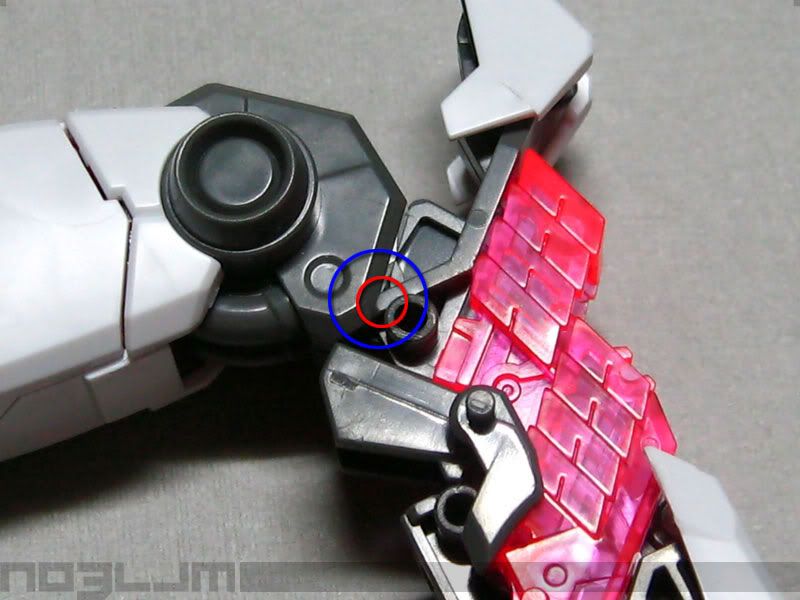
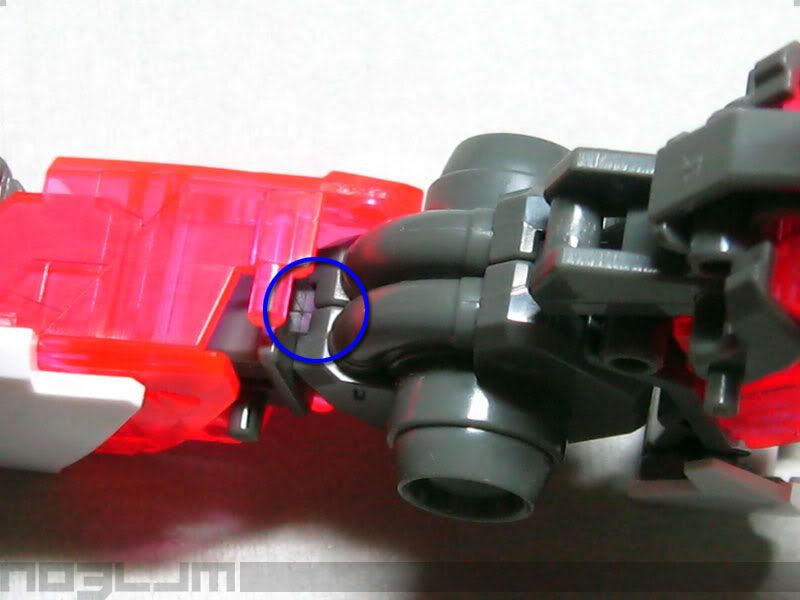
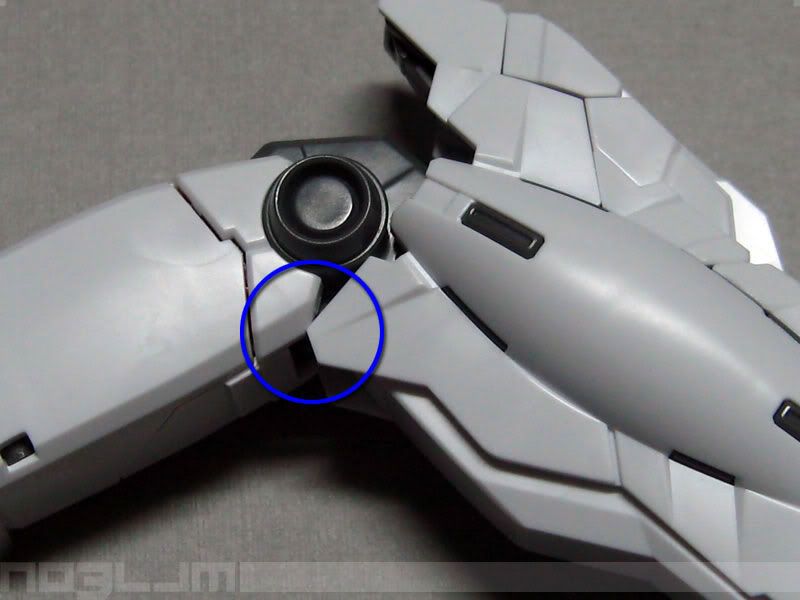
to my dismay, i found out that part of the leg ABS internal frame are blocking the movement of the knee. it stops to that certain point once the ABS part touches the cylindrical part of the knee joint. i encircled that with blue circle. so i'm thinking once again, maybe if we cut that out, maybe the knees can bend freely. so i move out 'that' specific ABS part to expose the knee joint again. only to see that on the knee joint itself, there's a part at the back that stopping the knees to swivel. more like the 'brake pad' for the knee. check the blue circle for the knee joint. and the red circle showing the 'brake pad'.
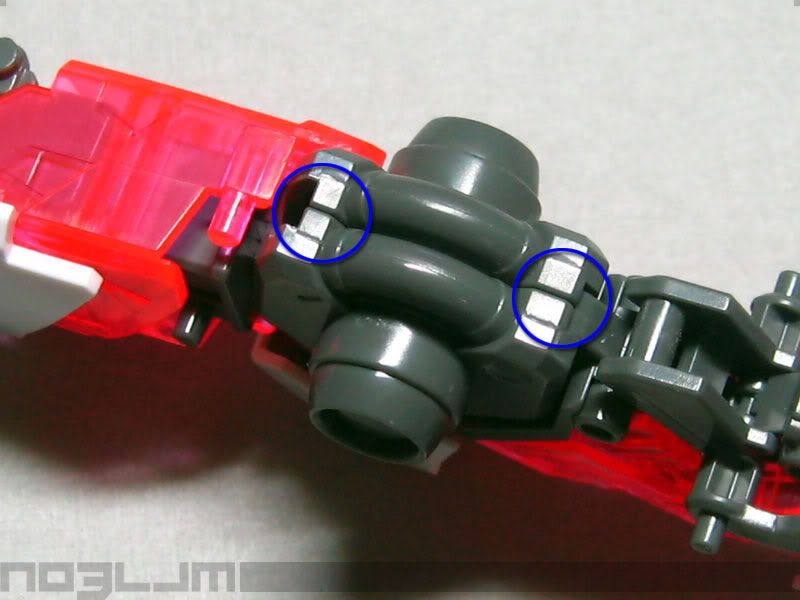
now i wonder, if we cut that out does that mean the knees can bend more? actually, i doubt that. because there's still some hindrance stopping the knees to bend. if you check the last 2 photos with the blue circle, the back side of the knee joint with the cylinder mold, i encircled the parts where we need to modify first in order the knees to bend more. before we modify the rest such as the ABS internal frame and the white armors.
here's some photos showing the bended knee with and without its white armor.
seriously, i'm not bothered at all with the articulation problems on this kit. but i don't want also to be hypocrite too for not wanting this kit to have Master Grade Ver.2.0 joints. but i guess, in reality we can't have both. i'm just happy having this kits for its design and complexity. it's really a challenge building this one. and i also like the transformation too. ^^,
next: Lights, Camera, A C T I O N !
Thanks for looking. ^^,
![]()

No comments:
Post a Comment