
Snapbuilt: MG Unicorn Gundam part 1
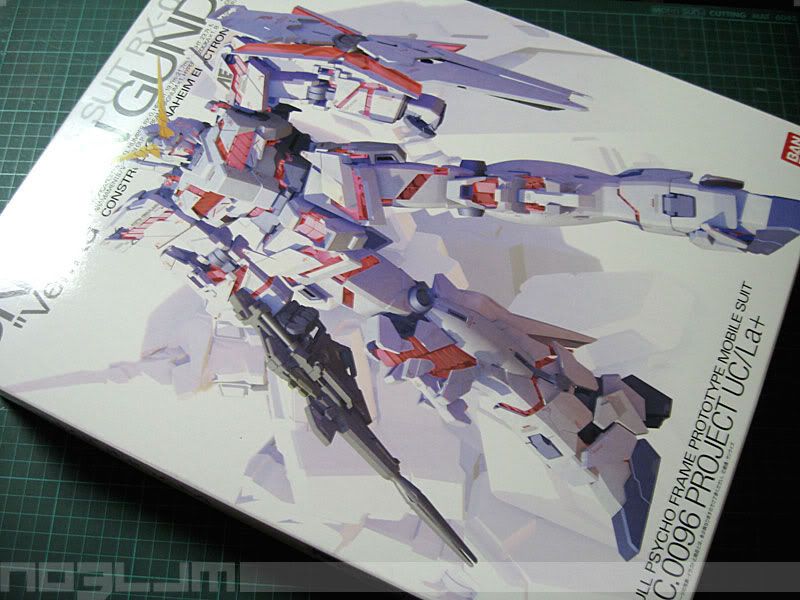
RX-0 Unicorn Gundam "Ver.Ka"
Bandai's 1:100 Master Grade No.102
~ Snapbuilt and Kit Review Part I ~
good day to everyone. i started snap building this kit during New Year's Day while waiting for my mother to finish the report she's doing and sending emails to our relatives, so that i can use my PC afterwards. because i have still some website projects to do. ^^,
so here's my first part of Snapbuilt and Kit Review of the latest Master Grade kit from Bandai. The RX-0 Unicorn Gundam! w00t! w00t! ^^,
B o x & C o n t e n t s
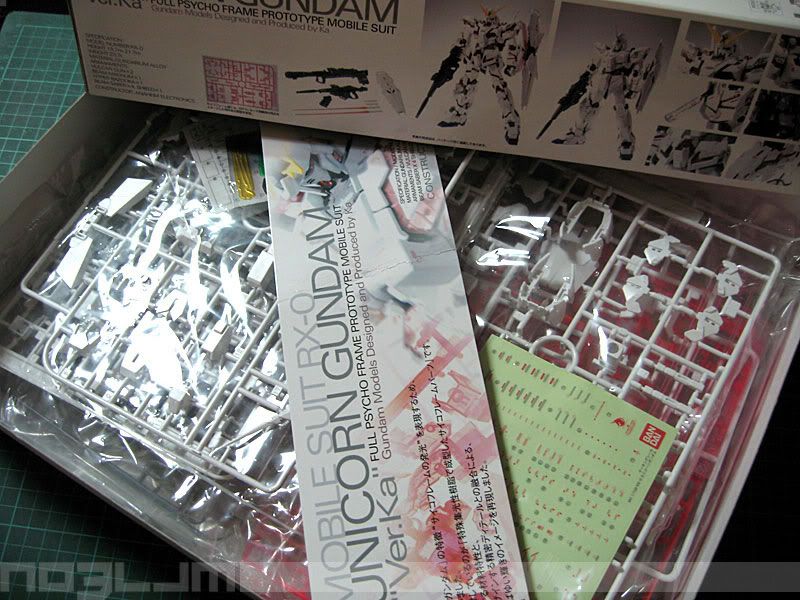
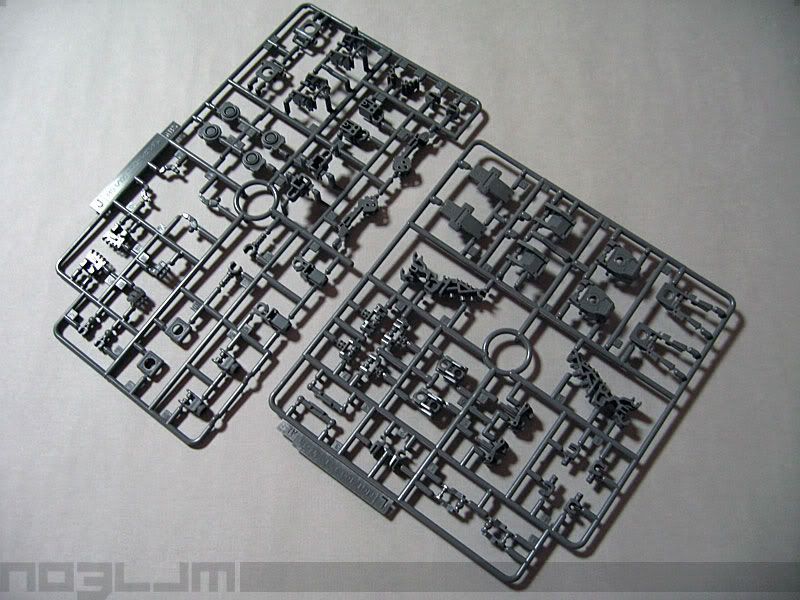
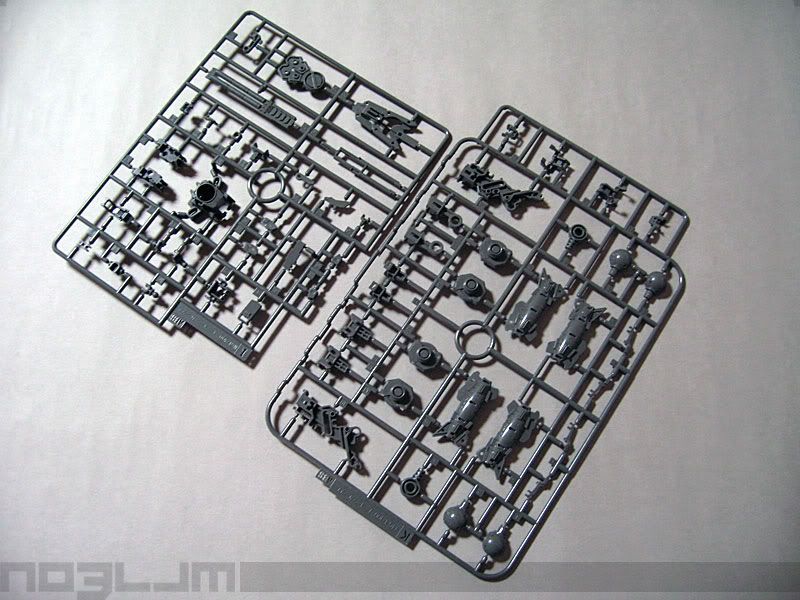
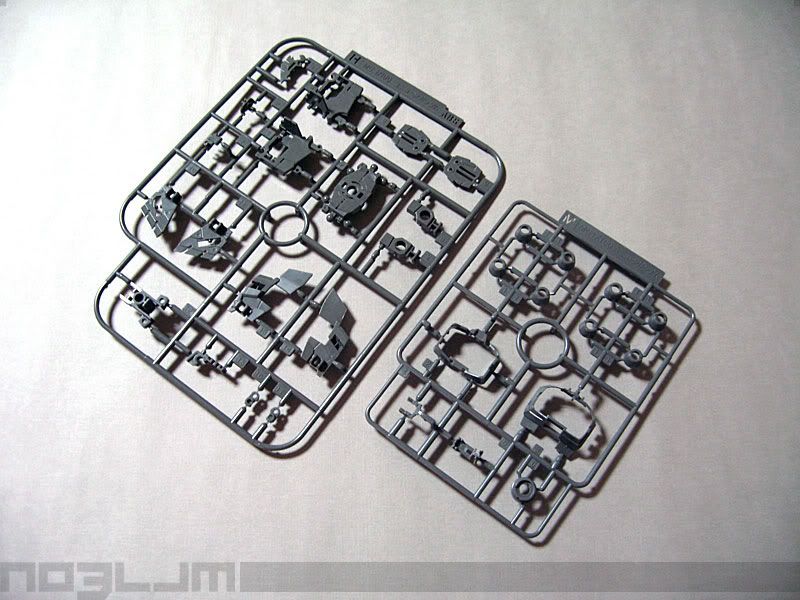
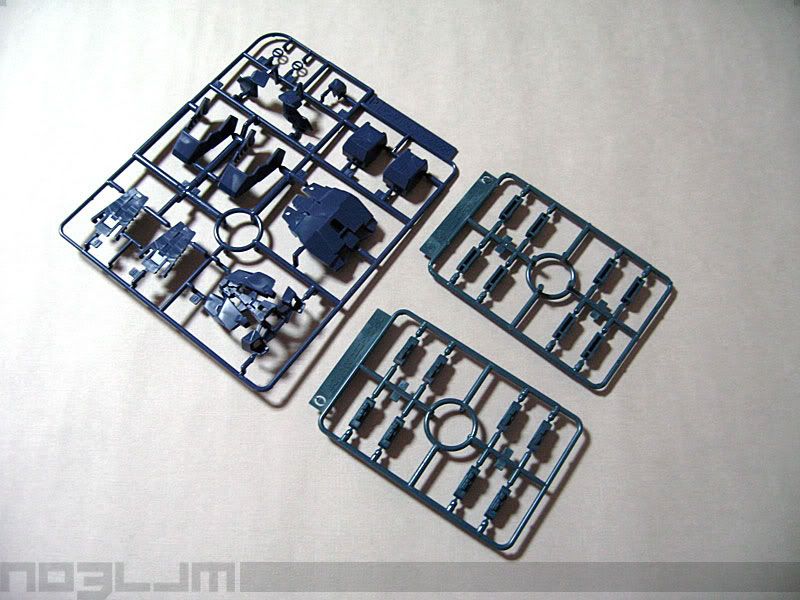
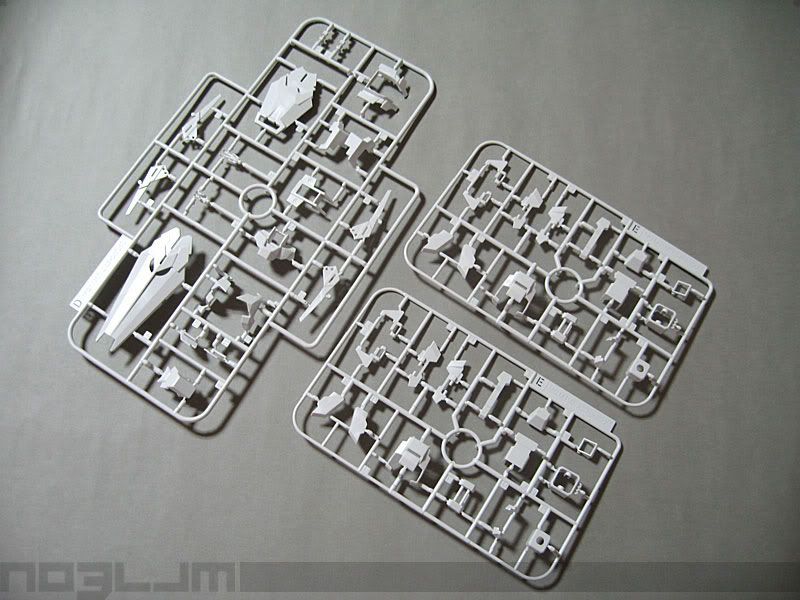
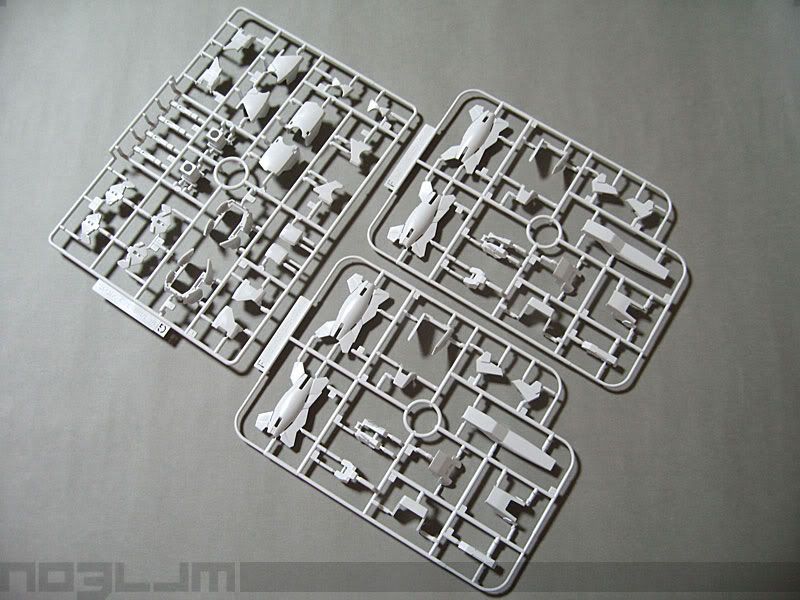
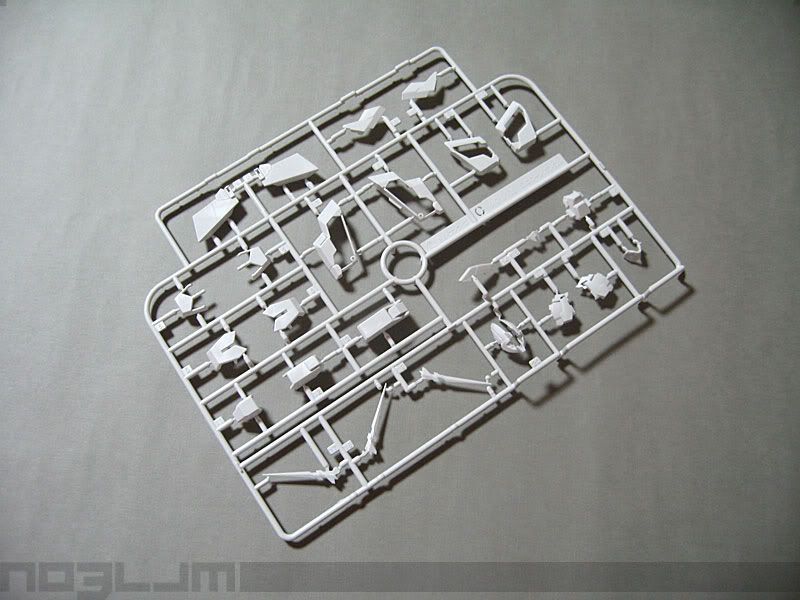

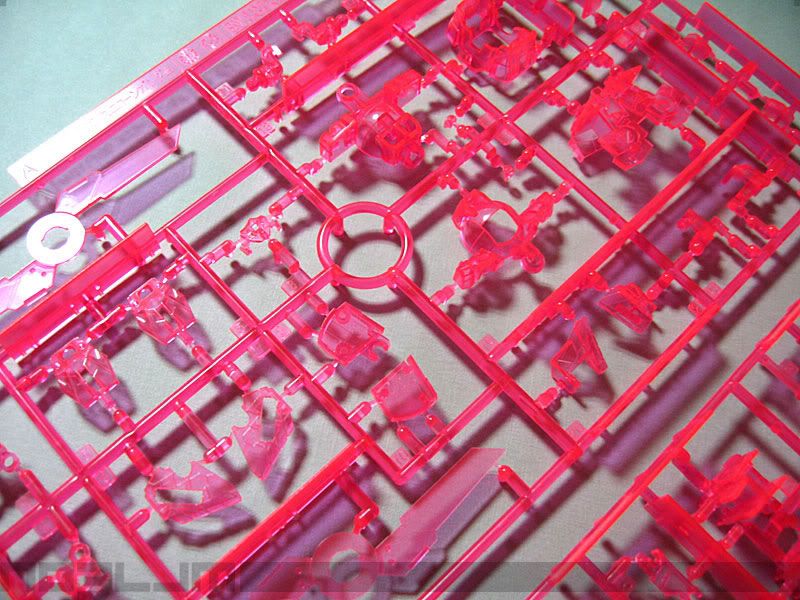
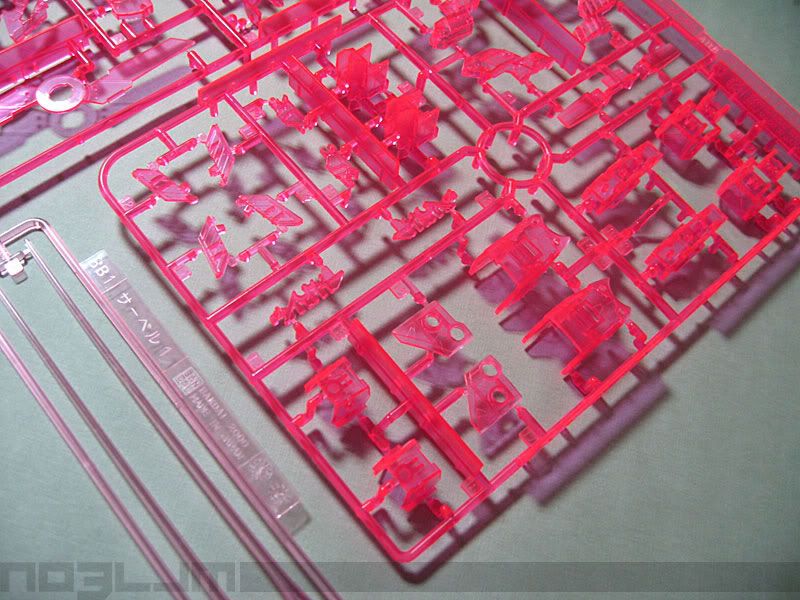
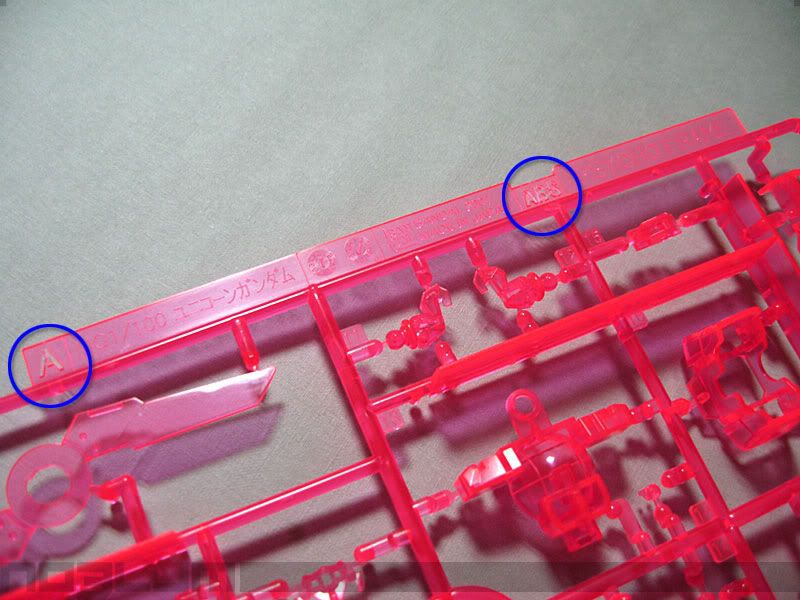
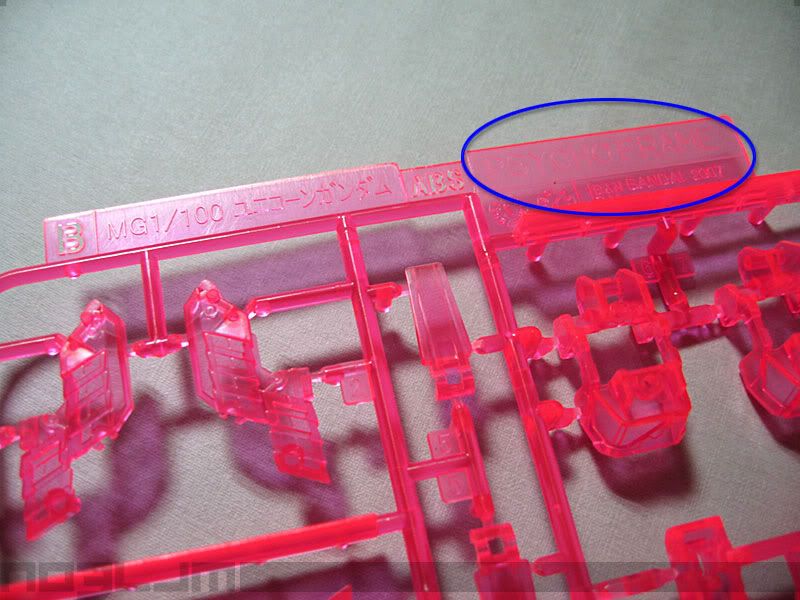
as you can see there's a lot of sprues on this kit. a lot of parts to be made. esp on the internal frame. because Unicorn transforms to one mode to another. ^^, and check also the clear red/pink part. it's called the Psyco Frame. up to now, i'm still puzzled with this 'Psycho' term on Gundams. some Gundam series called it 'Psyco'. but some calls it 'Psycho'. in this MG kit, it says on the sprue -- Psycho. but i still rather go on the 'Psyco' term because it's based on their technical spec 'Psycommu System'. just to be consistent on the Zeta Gundam series. besides 'Psycho' is 'Psycho'. maybe it's just another case of translating Japanese term in english. or... maybe they referring to the Psyco Gundam's pilot Four Murasame. she's kinda psycho. hehehe. ^^, anyways, the clear/red part ABS called 'Psyco Frame' is new from Bandai kits. good thing this is made of ABS (Acrylonitrile butadiene styrene) material rather than PS (Polystyrene) material.
and lastly, before i forget this is another "POLYCAPLESS" model kit. i was surprised to see that it has no 'polycaps' when i opened the kit. i know we hear things about the new 'polycapless' internal frame since Master Grade F91 Gundam. how does it hold? and how fragile the joints will be? maybe i'll tackle that issue on the next part of the review. ^^,

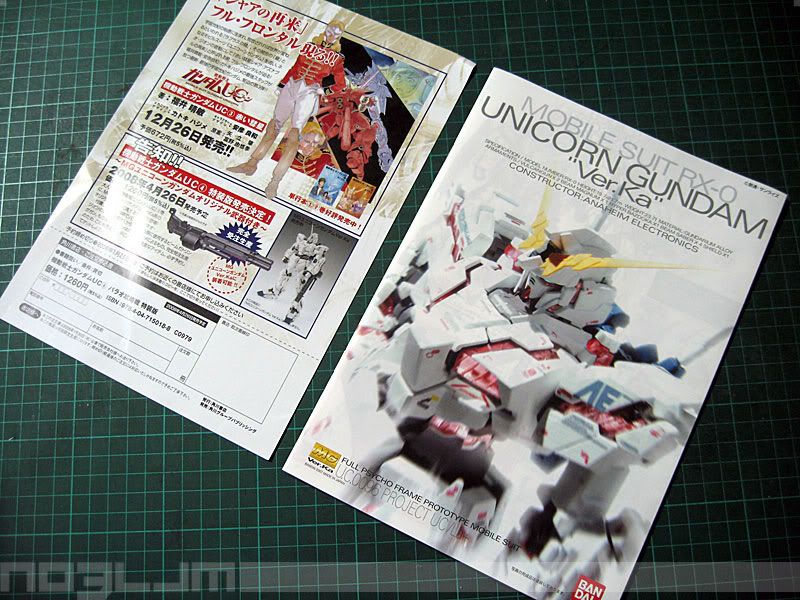
next are the decals, flyer and manual. it has all the standard decals that came with Master Grade kits -- Gundam (Dry Transfer) Decal, Marking (Clear-type Sticker) Seal, and the Foil Sticker. a standard "Ver.Ka" white motif manual. but this time it's thicker. with lots of info regarding the Unicorn Gundam. and lots of instructions regarding the kit. the flyer shows info about the Gundam Unicorn novel. plus infos on the upcoming MG Unicorn Gatling Gun parts freebie on the next release of the novel on the month of April 2008. what a marketing scheme huh? they should've put the Gatling Gun accessory on this kit, than force the consumers to buy the novel in order to get the freebie kit. and this is a downer -- you have to buy 2 novels in order to complete the whole Gatling Gun for the Unicorn. ah Bandai... @_@
P s y c o F r a m e S n a p B u i l d i n g
~ some things worth noticing ~
~ some things worth noticing ~
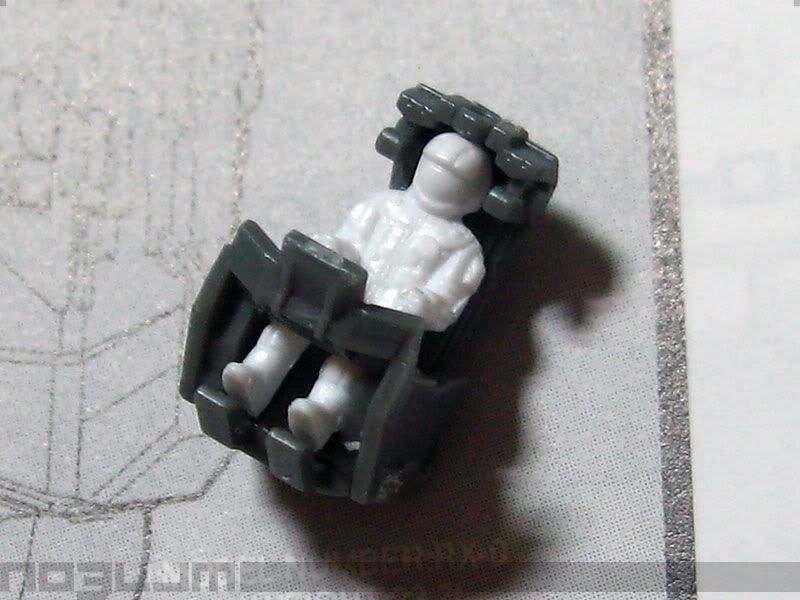
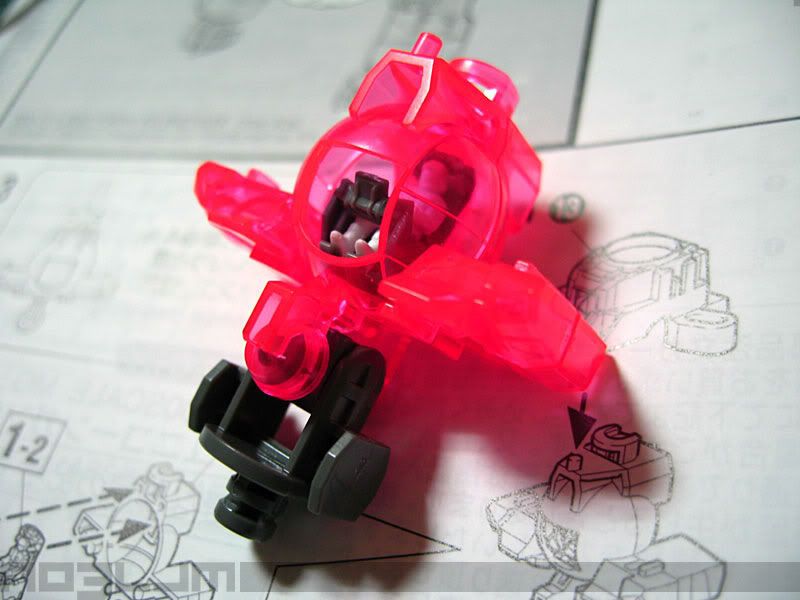
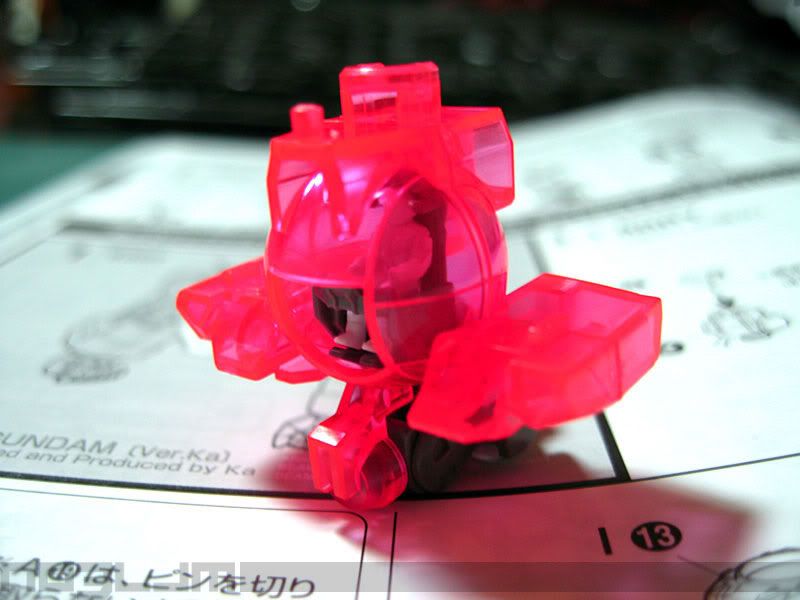
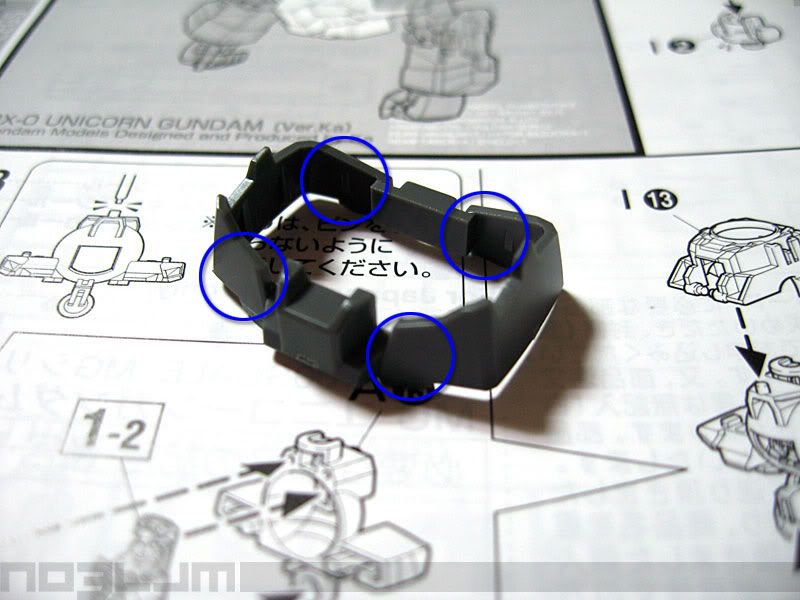
this is the first part that you will build based on the manual. the cockpit and the torso. on the third thumbnail, part of the waist armor, (circled on the photo) be extra careful on holding and inserting that part on the torso. it's made of PS material. so it's kinda thin and brittle compared to ABS material. i remember i almost break my MG Strike Freedom's waist part because the part is too thin. @_@ take note: i'm building first the Psyco/Internal Frame of this MG kit rather than build it completely with the armors. i just want to see how the frame moves without the white armor/parts when transformed. hehehe. ^^,
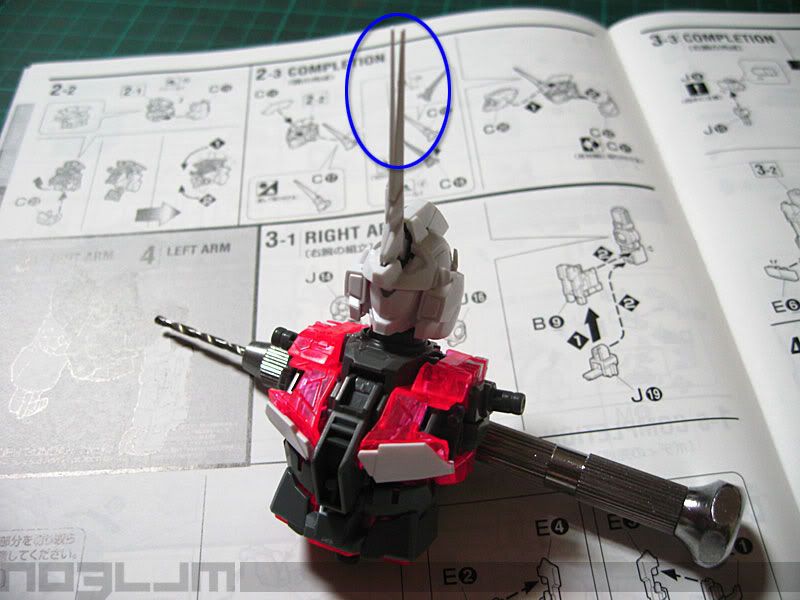
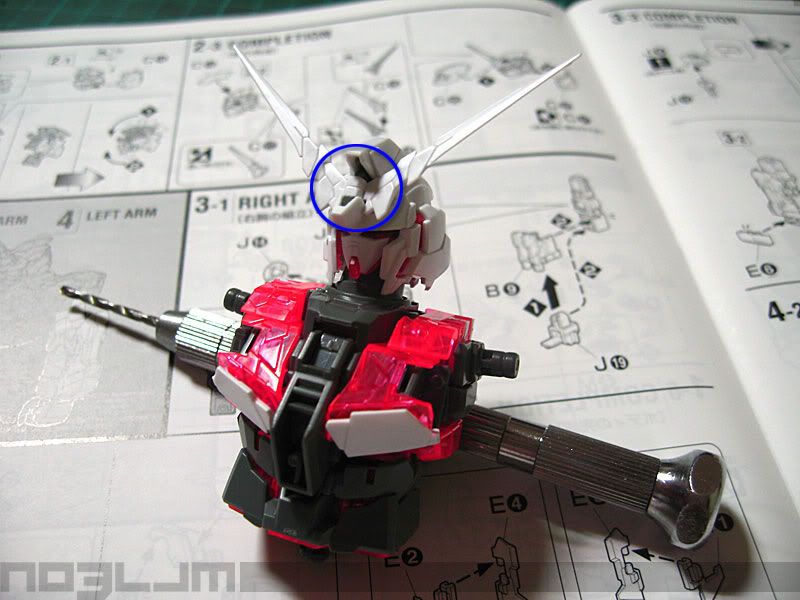
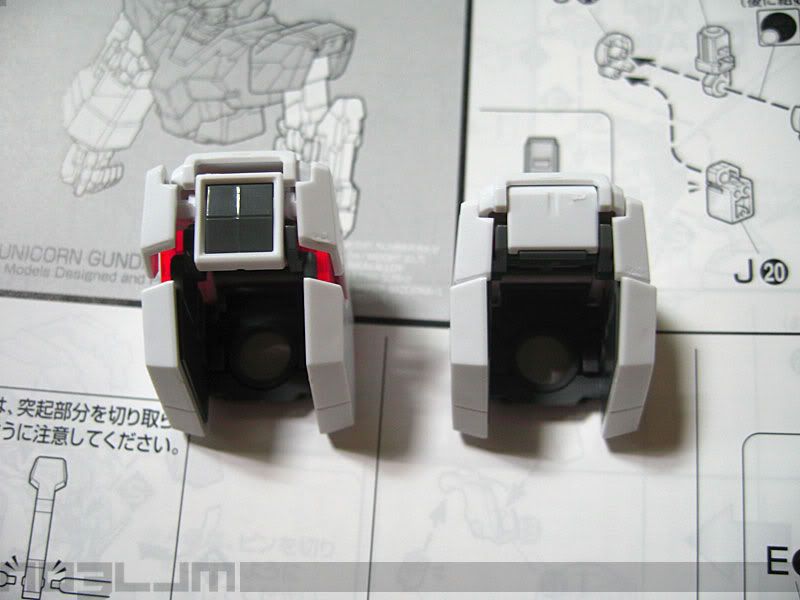
ok, here's the fun part after i build the head unit... i'm SO curious on how the head transforms, and i find it very unique. so unique, i find myself transforming it a number of times. hehehe. i even showed it to my sister and explaining it to her how it works. cool! for an MG head to transform like that... SO cool! great job Hajime Katoki-san! ^^, but the only downer on the head part is... when you used the transforming V-antennae/Horn, it never closes totally when its in Unicorn mode. notice the blue circles? it has a gap on the upper part of the horn. good thing they've included an extra 'Unicorn' horn for those who want their kits in that mode. but i have a feeling that you can interchange the horns/V-antennae when its displayed. i remember that you can easily slide the horn/V-antennae on the slot. maybe i'll cover that next time on my next batch of reviews.
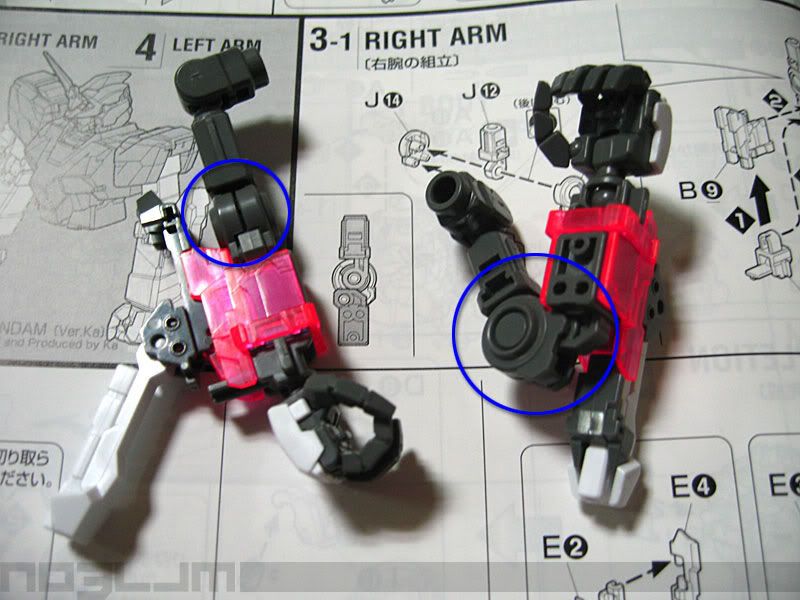
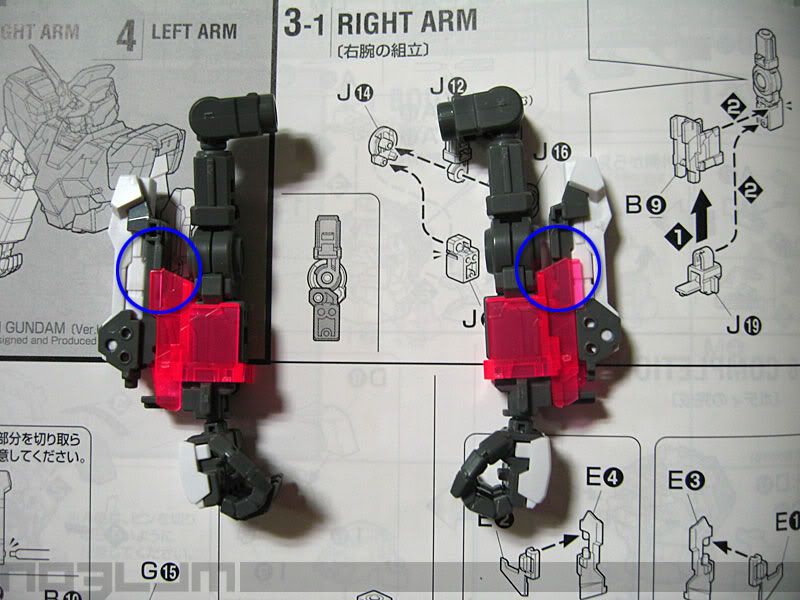

next are the arms and shoulder armors. ok, another reason why i started building only the frame is i wanted to see how limited the movements of the joints. because, if you'll check other sites that have reviews on this kit, they note that it has limited articulations. that got me so curious, so while building it, i'm studying the frame at the same time if we can remedy that in the future by modding it. because as of now, without its white external armor/parts, i can see that we can bend the elbow joint as same as the Ver.2.0 kit have. check my MG Char's Zaku II ver.2.0 kit elbow joints for reference. next, i'm showing how the arm expands. and where the parts sits on when in different modes. then the shoulder armors in different modes.
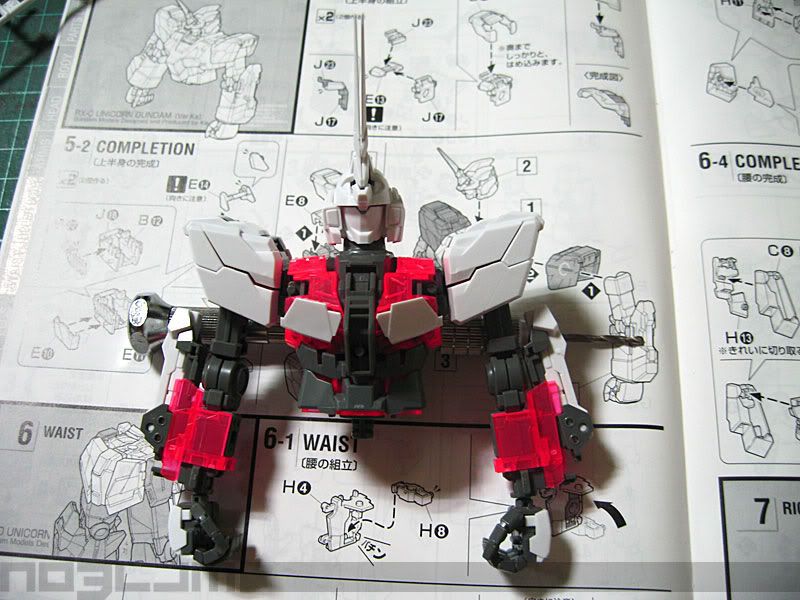
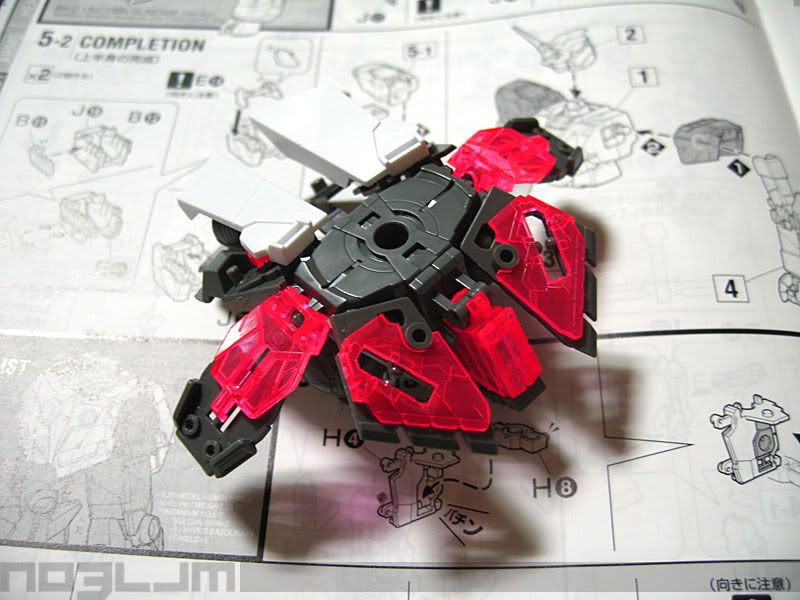
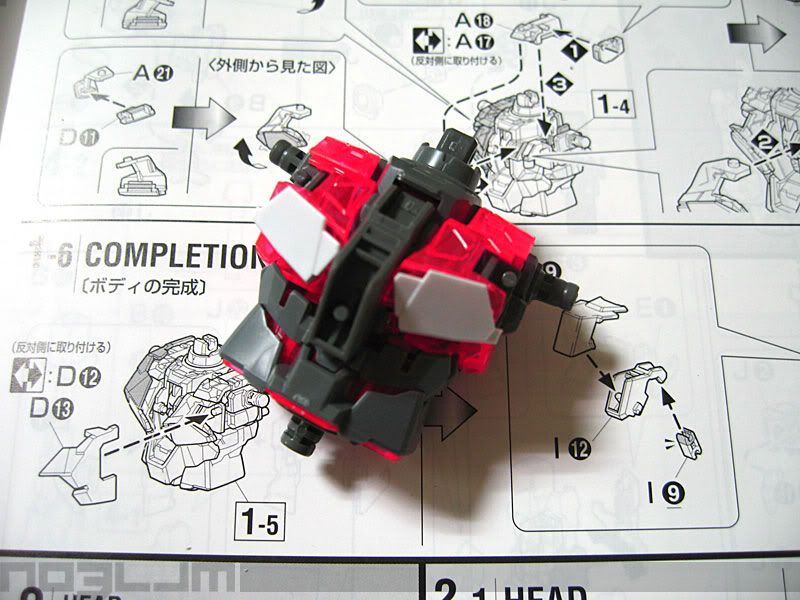
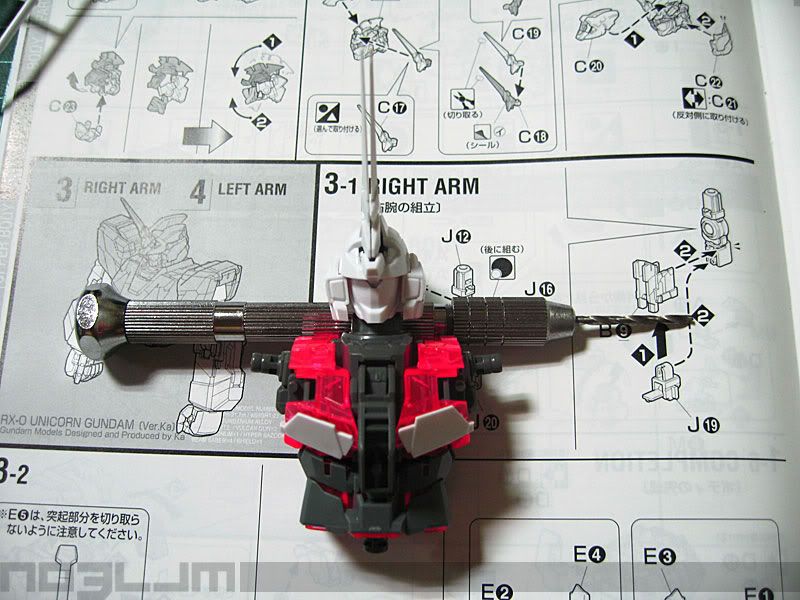
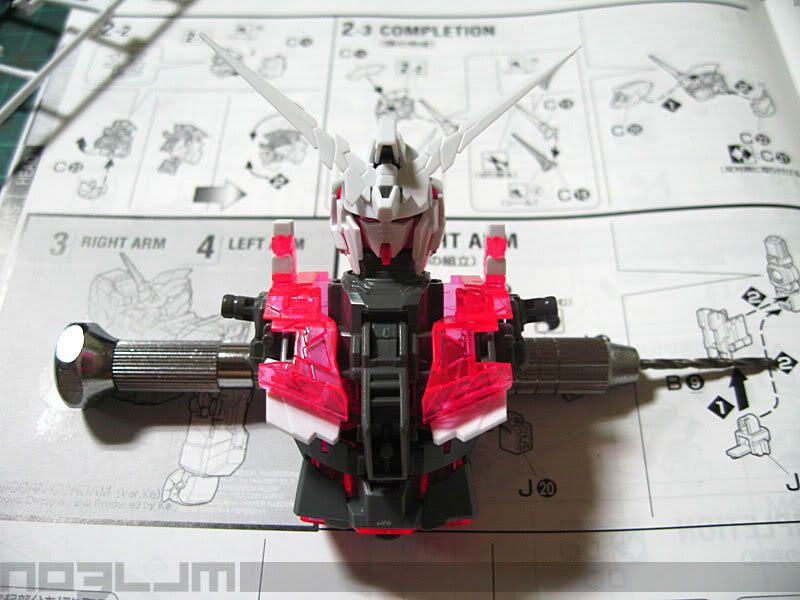
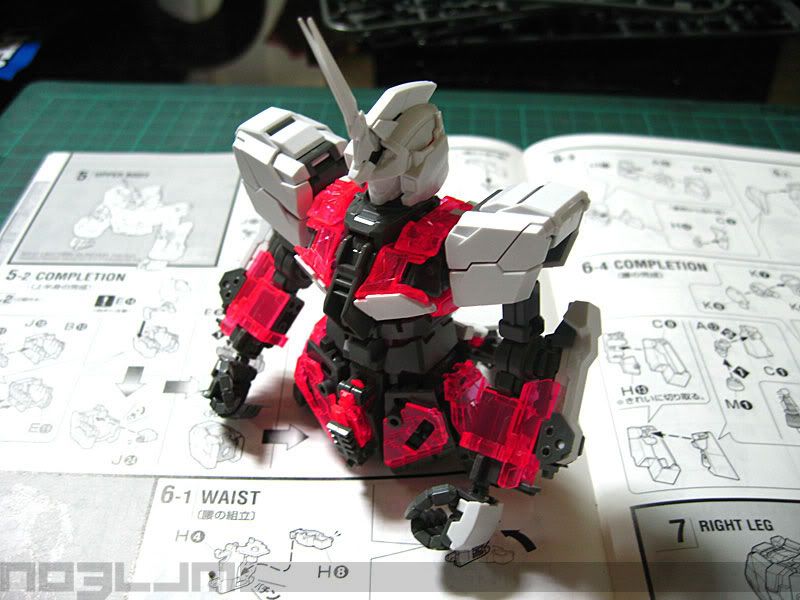
last for now is the complete framed torso & arm, and complete head unit and shoulder armors. plus the waist framed part. just the internal frame and the psyco frame. ^^,
next i'll build and review the leg parts. so for now, i leave you the finished product image from this first part review. hope you liked it.
Thanks for looking. ^^,
![]()

No comments:
Post a Comment