
Snapbuilt: MG Char's Zaku II part 1
good evening. i started building this Master Grade No.098 1:100 scaled kit of MS-06S Char's Aznable Customize Zaku II ver.2.0 last night. which is also my first model kit of enemy's Mobile Suit unit. and here's what i've finished so far: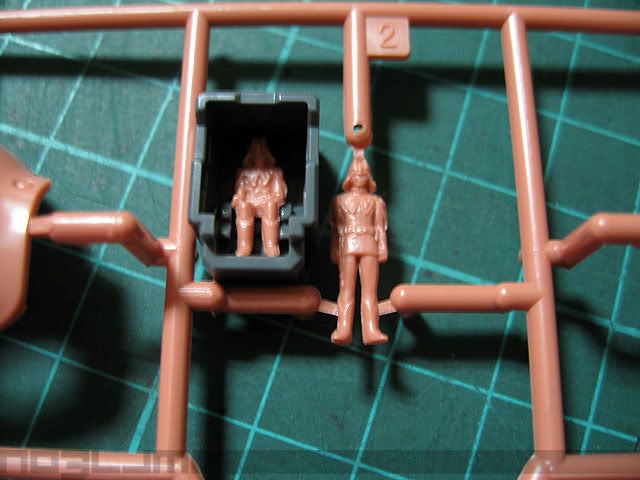
here i'm showing the comparisons of Char's scaled figures. it's proportion with each other. whether in standing form or in-cockpit form. btw, a lot of Master Grade 1:100 scaled kits pilot figures is not proportioned with each other. for example the new Master Grade Turn-A Gundam. the Loran figure on the cockpit is not proportioned to the standing figure. another example is the previous R3 1:100 scaled L-Gaim MKII kit. the Sprial Flow (cockpit) unit and the cockpit figure is not proportioned with the Daba Myroad standing figure. not so sure about Kira Yamato on my MG Freedom and Strike Freedom. :-/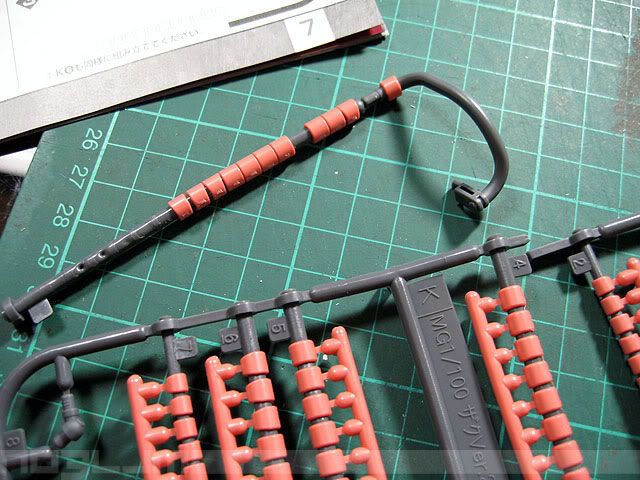
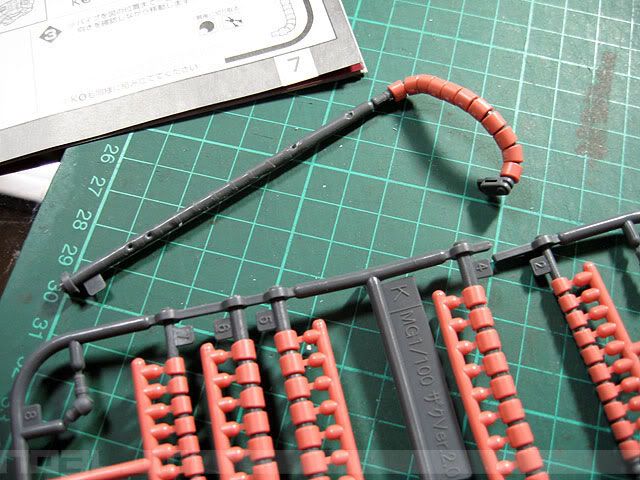
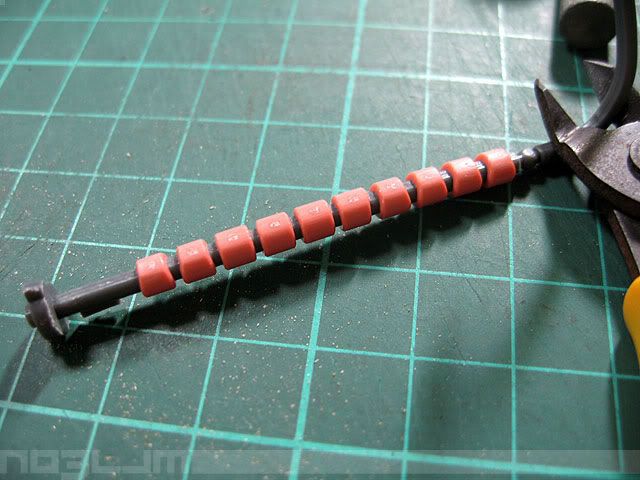
next is the new 'pipe system' sprues. the version 1.0 MG kit comes with seperate hose and pipes. while the version 2.0, the pipes and hose are joined together in one single sprue tree. all you have to do is cut the pipes, then slide it to the attached hose. but may i remind everyone who wants to paint their kits that sand the cut marks first before sliding it to the hose. this is the first mistake i've made with the first pipe system. so what i did is slide back the pipes and sand the cut marks. or if you want, you can keep the PVC sprue for later use if you forgot to sand the cut marks. here's an example of the 'unsanded' and 'sanded' pipes on the sprue tree. just before sliding it to the hose. oh, don't mind the 'exposed white spots' on the 'sanded' hose. i'll prime and paint this kit, so no worries. atleast it's smooth now compared to the 'unsanded' ones. ^^,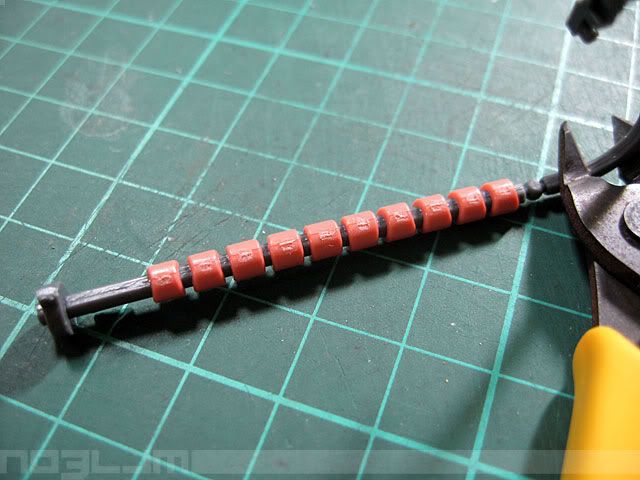
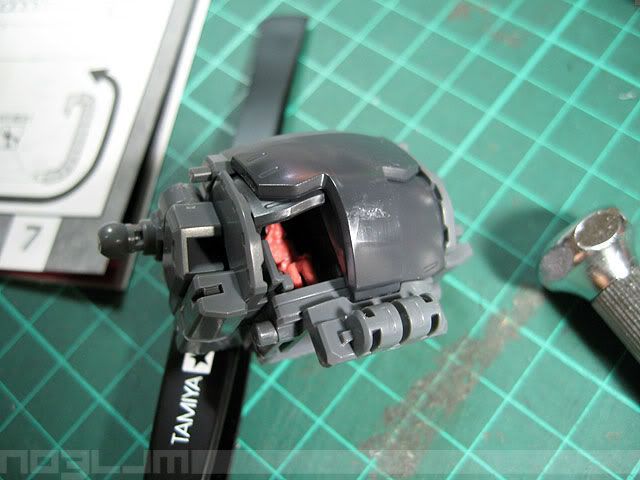
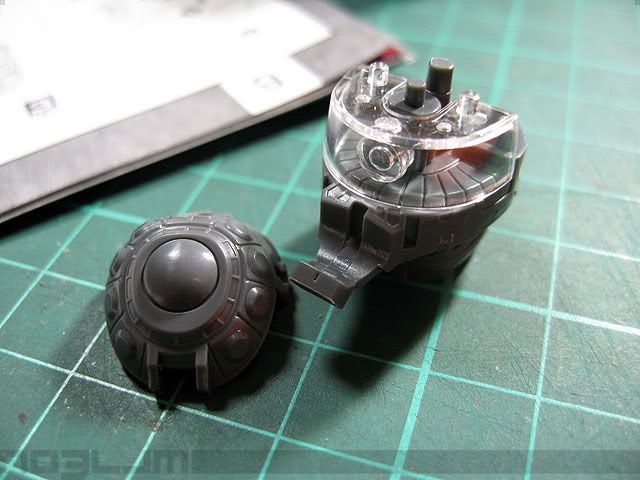
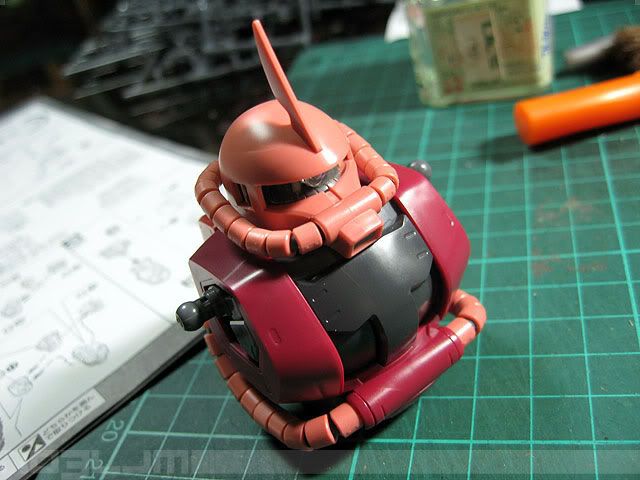
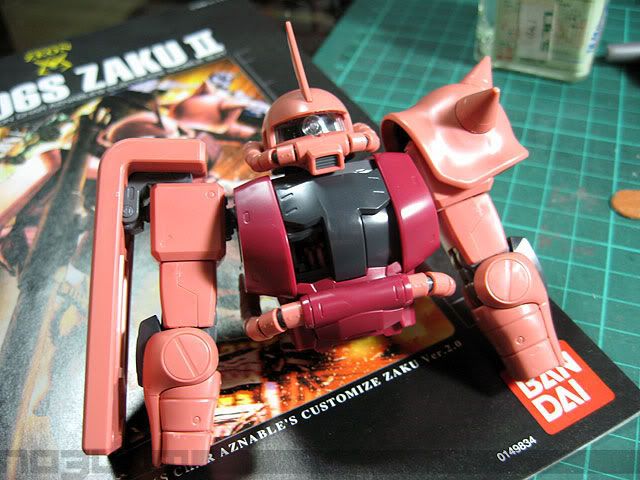
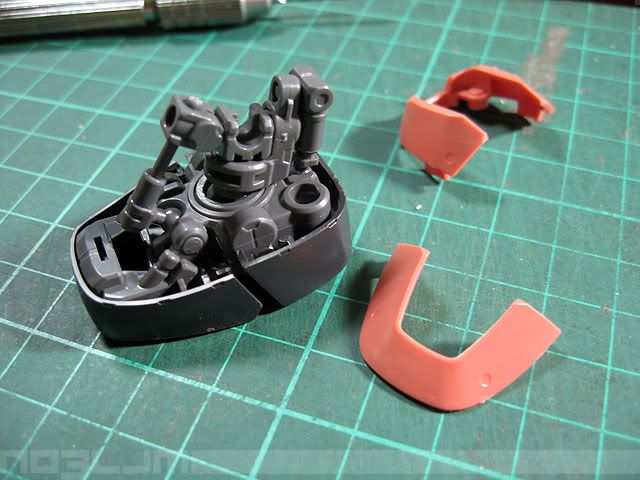
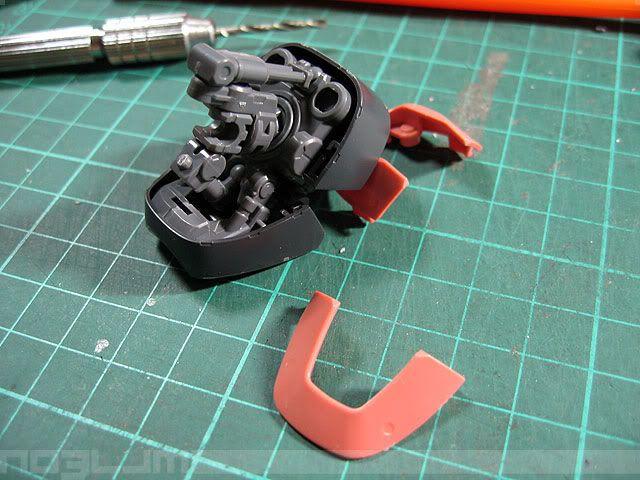
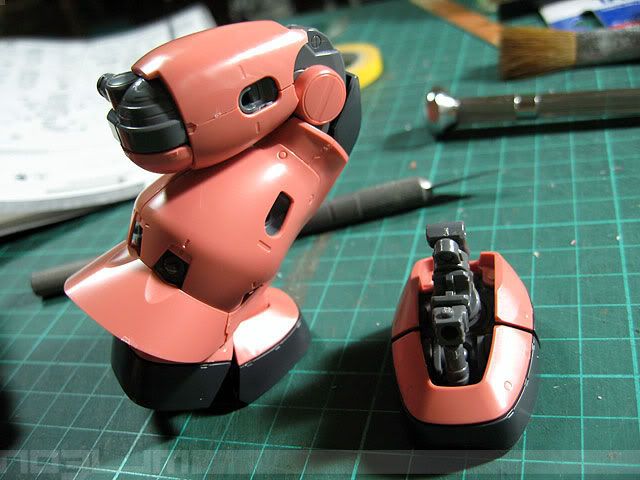
next we see the finished cockpit inside the torso. btw, you can slide the cockpit unit to the left side and right side of the torso. both openings can slide up and down too to reveal the cockpit area. i might add that the torso part is kinda heavy. which is not a bad thing for me. honestly, i really like the weight of this kit. i just hope that ALL Gundam kits have this kind of internal frame. ^^, next the head unit. i love the mono-eye gimik here. everytime you swivel the head from left to right and vice-versa, the mono-eye moves also. it doesn't stay in the middle area of the head unit. cool. the arm unit is heavy too. nice. and next, the finished upper part (minus the manipulators) of Zaku II. looks great, huh? ^^,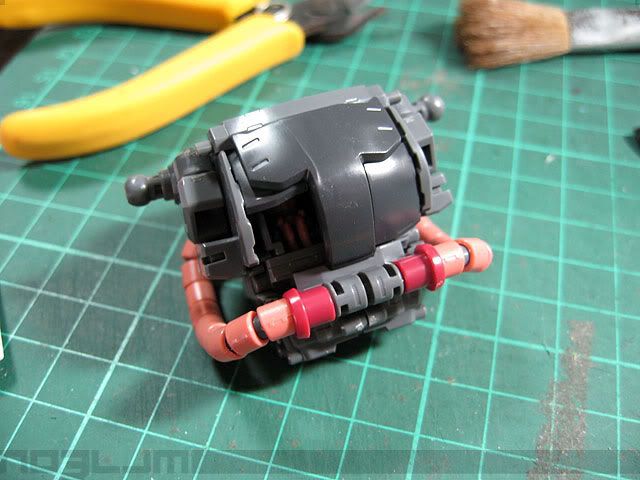
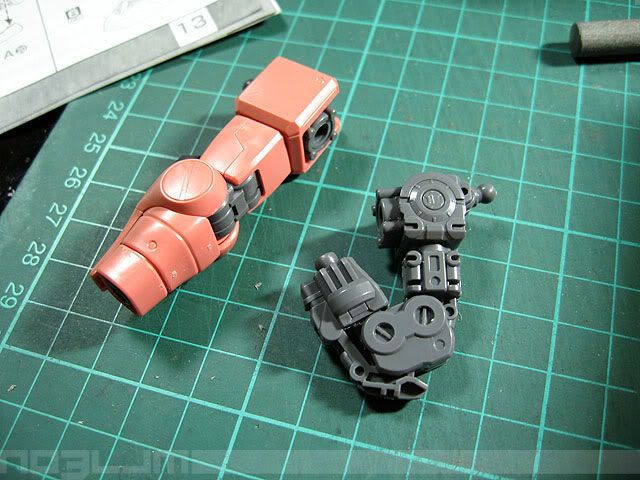
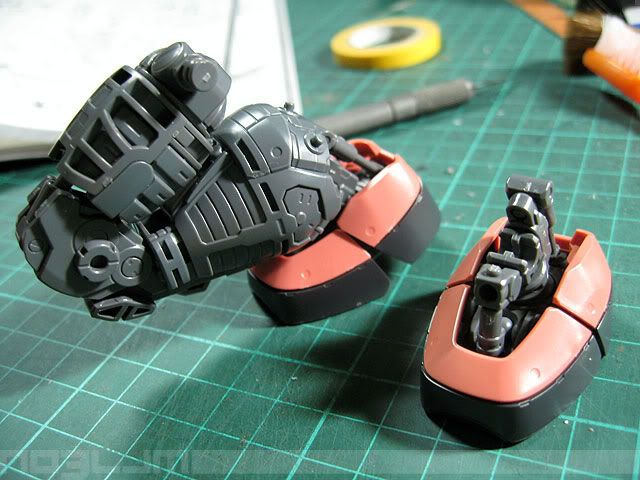
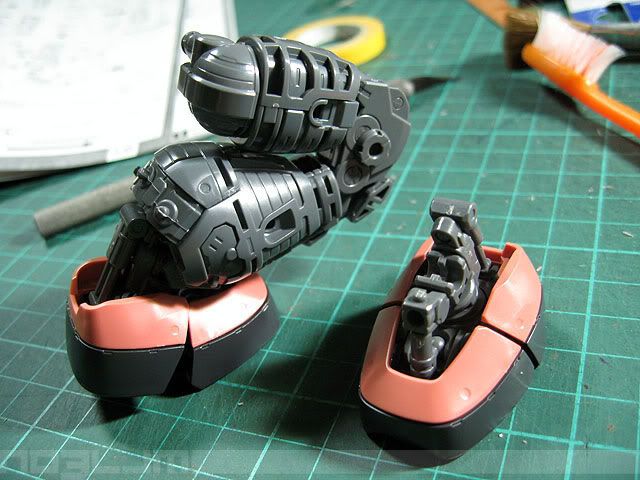
next batch is the right leg. i'll tell you now, that i really love the details and articulation of the leg unit. BRAVO Bandai! superb engineering. i love it! ^^, when you play with it, even if you're still assembling it, you can really feel that the hydraulic designs are really moving... wait... maybe that was just my imagination. hehehe. :D the details on the feet's internal frame is great too. as if there's really a 'workable pistons hydraulics' on the mechanism. great huh? ^^,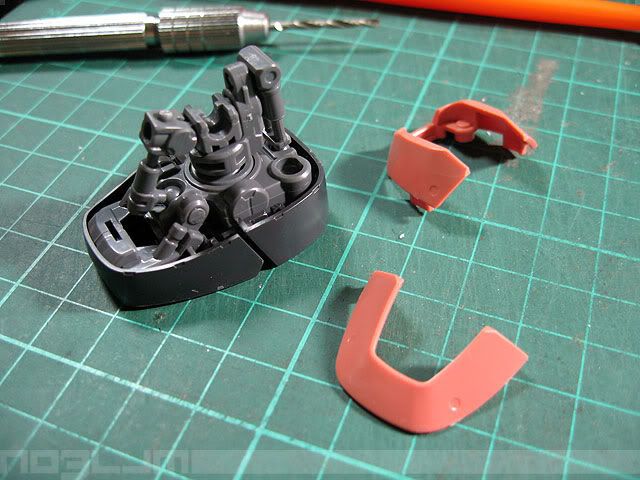

and lastly, the finished right leg unit. great details, huh? though the internal frame will not be visible once you attached the armor plates, there's a feeling that i really want to paint the internal frame just because of the cool details. ^^, that's why i'm studying the kit while assembling it so i can see what needs to be remove so that the internal frame will be exposed. it's a waste if i paint the internal frame and not expose it, right?
and now, this is 'WHY' i love Bandai's updated and upgraded MG kits. because almost all the armor parts now are 'CLIP-BASED'. less male-and-female connector pegs. you just clip the armor plates on the internal frame. now it's easy to mod armor parts. cool, huh? ^^,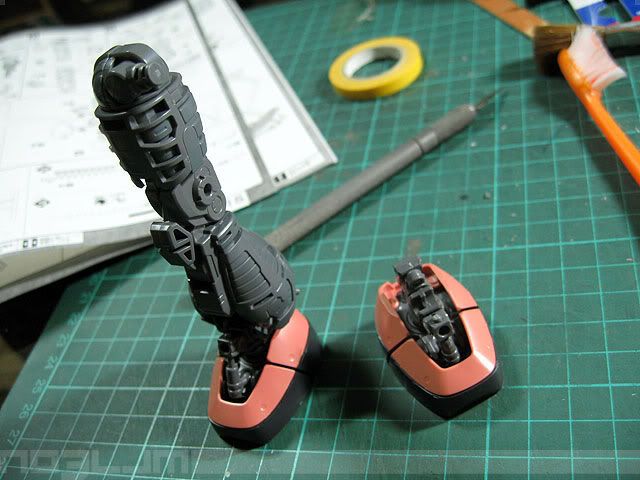
hope i can finish the left leg unit tonight after work. and maybe the manipulators and the weapons too. as long that i'm not sleepy, i can finish this. ^^,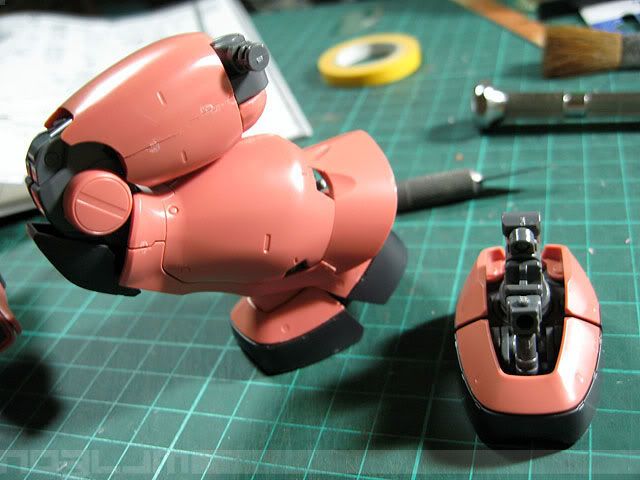
ok, until my next post. thanks for dropping by. ^^,
![]()

No comments:
Post a Comment